The Craft Loft – the reason behind my upcycling obsession
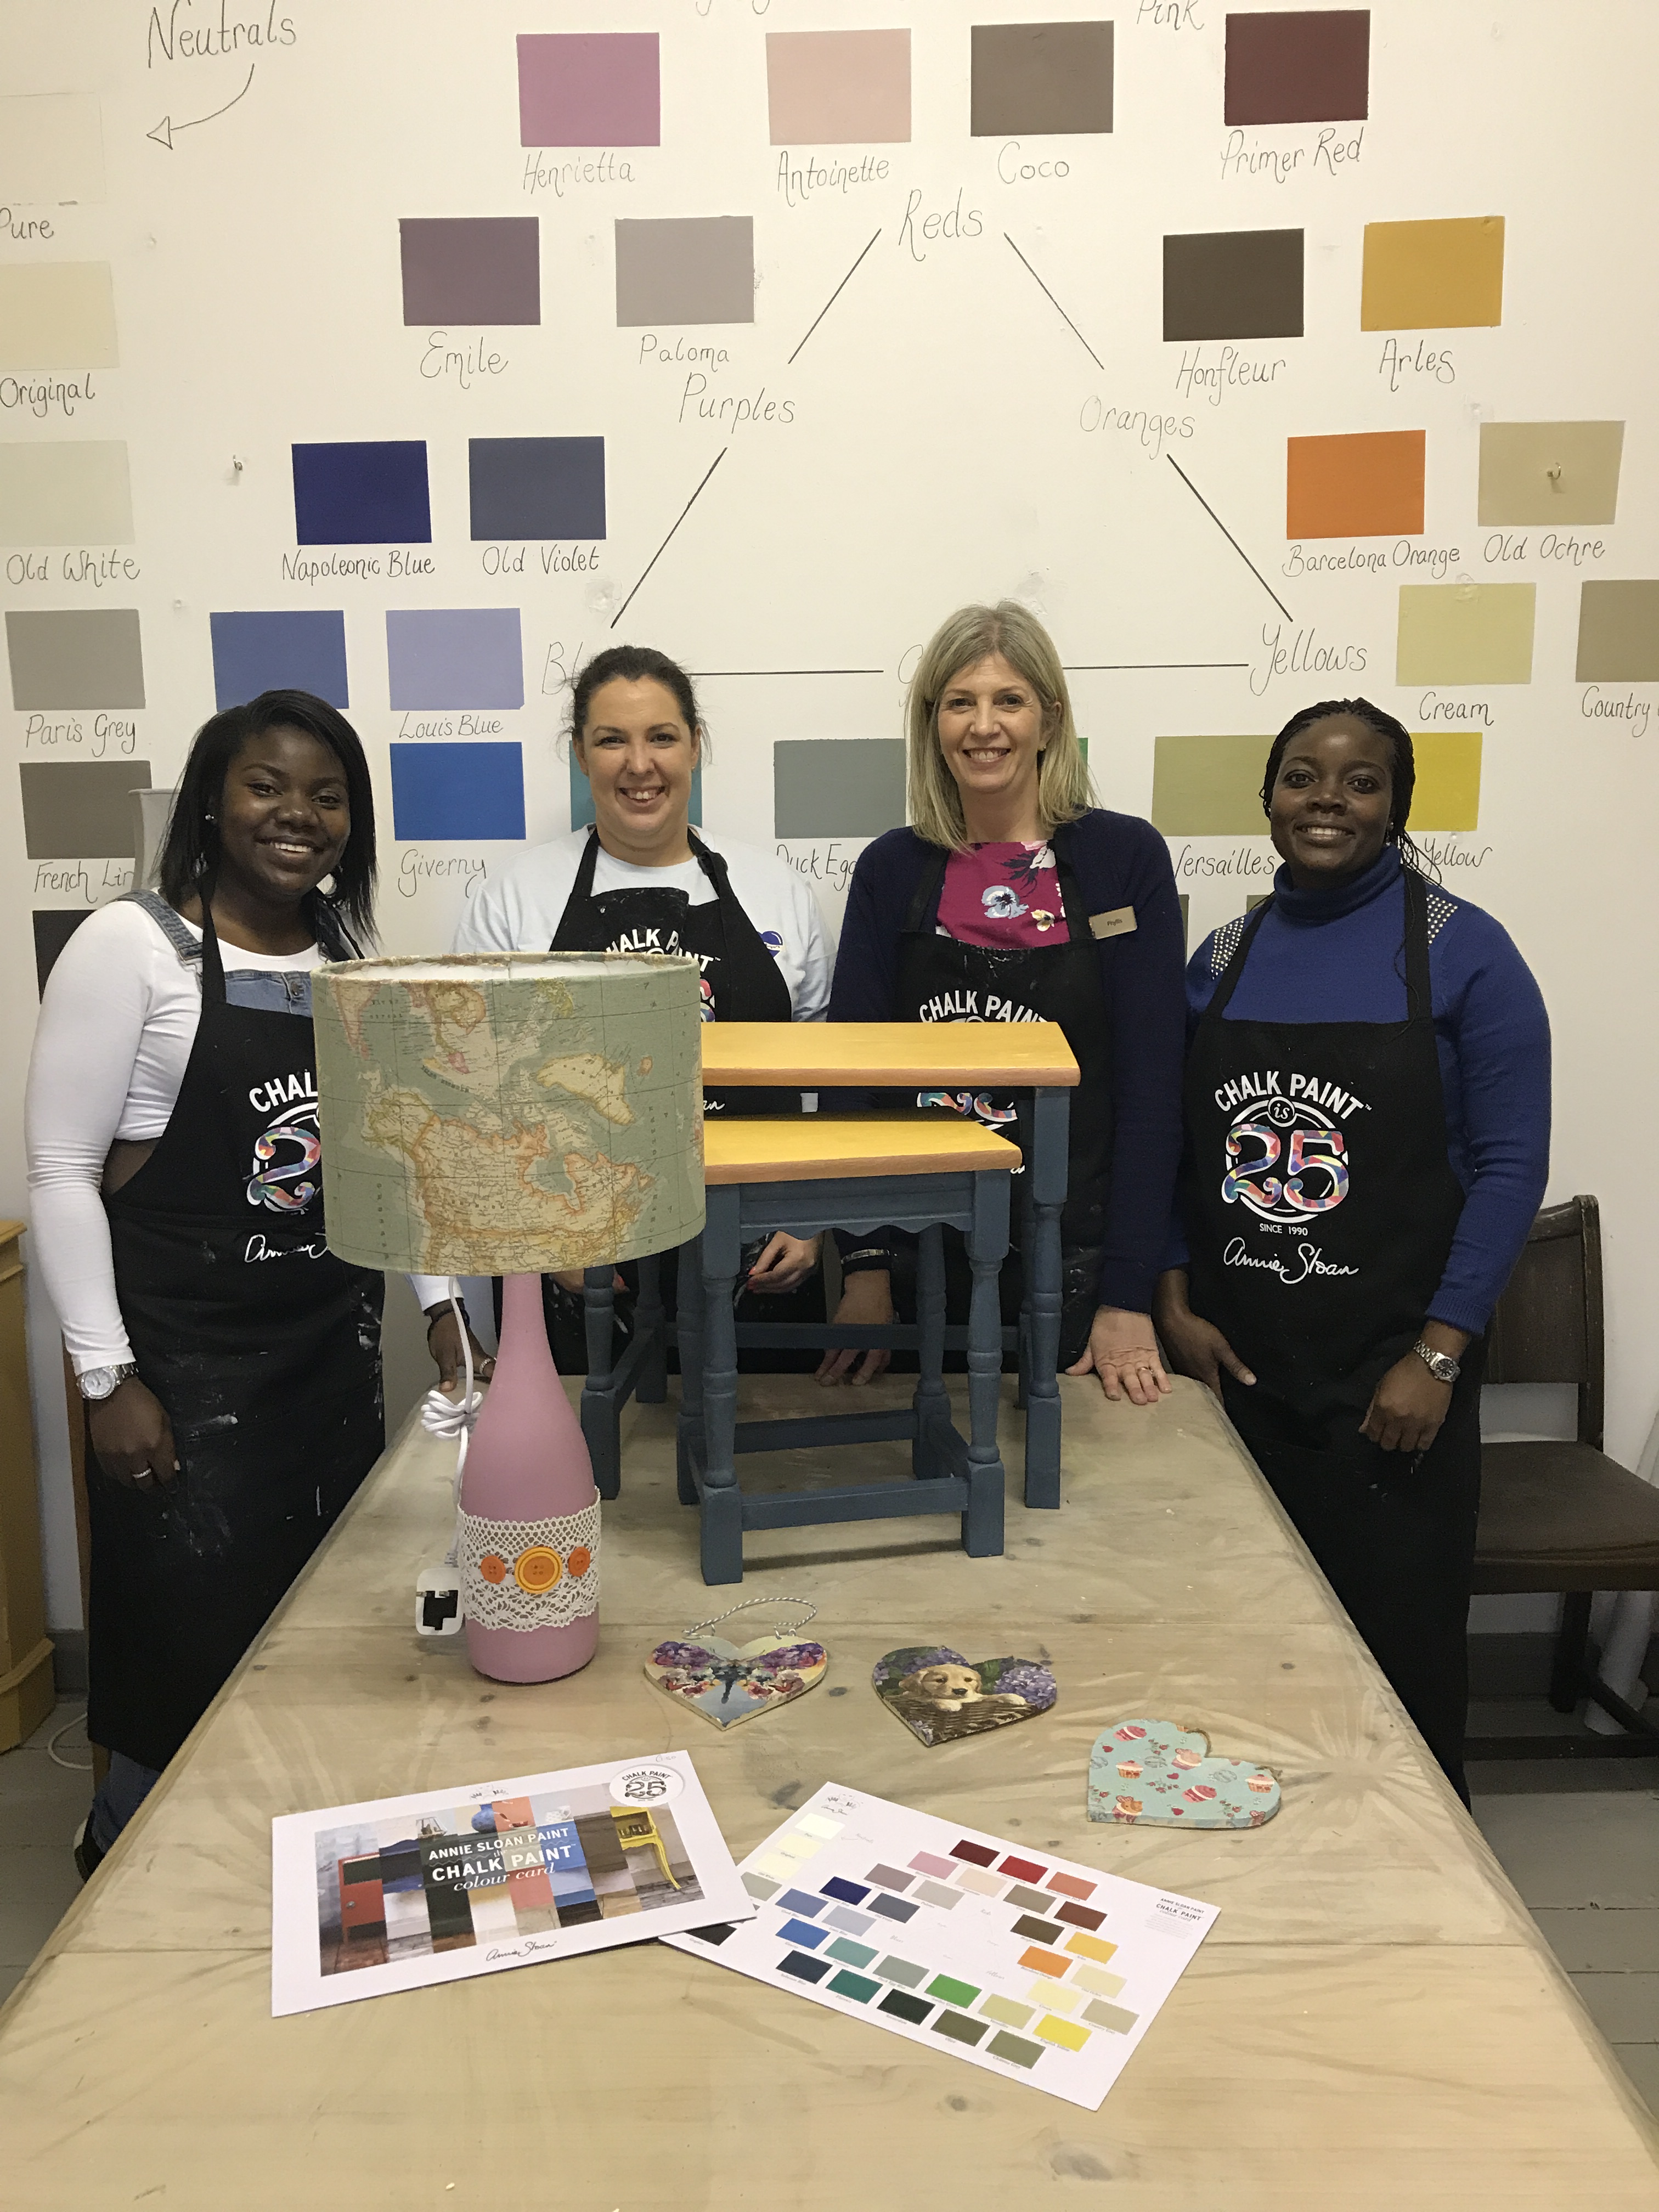
Just over a month ago I was invited down to Newcastle (Northern Ireland) for an upcycling class with The Craft Loft which is owned by a lovely lady called Phyllis. I took my cousin Susan and we met up with fellow blogger Emer.
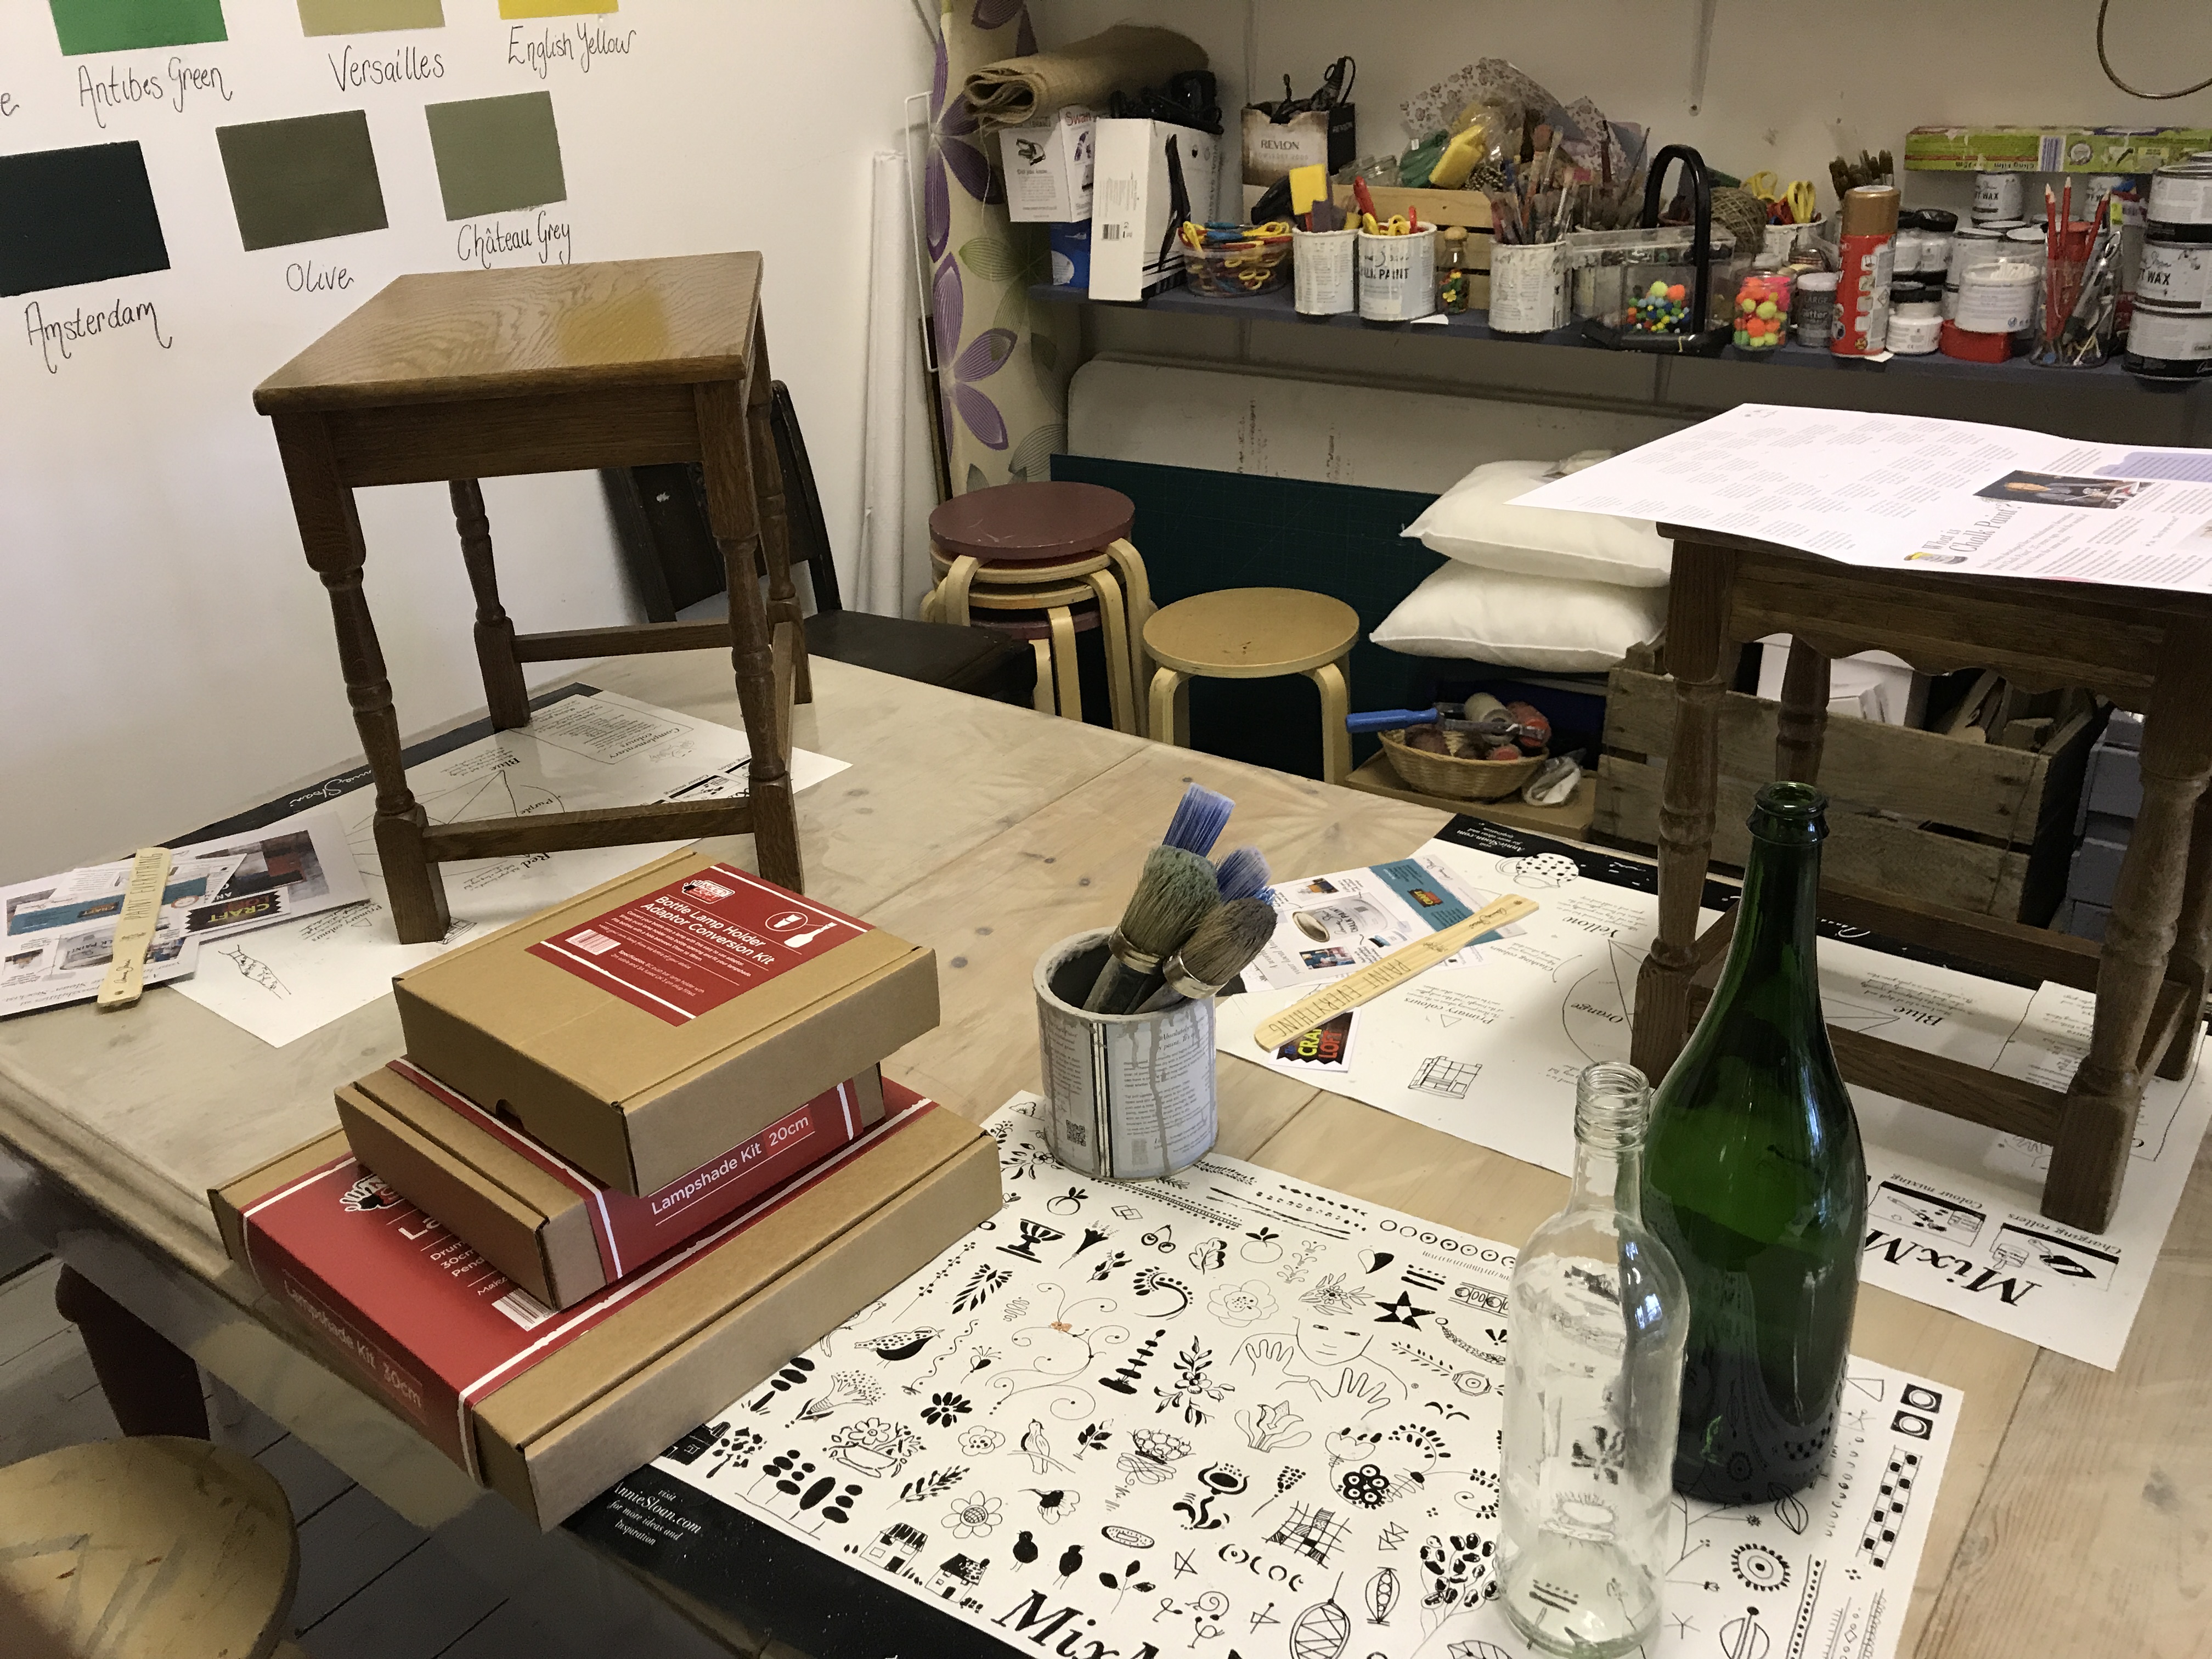
For those of you that don’t know much about upcycling, it’s basically where you get old furniture or just an unused product that you want to make look nice again.
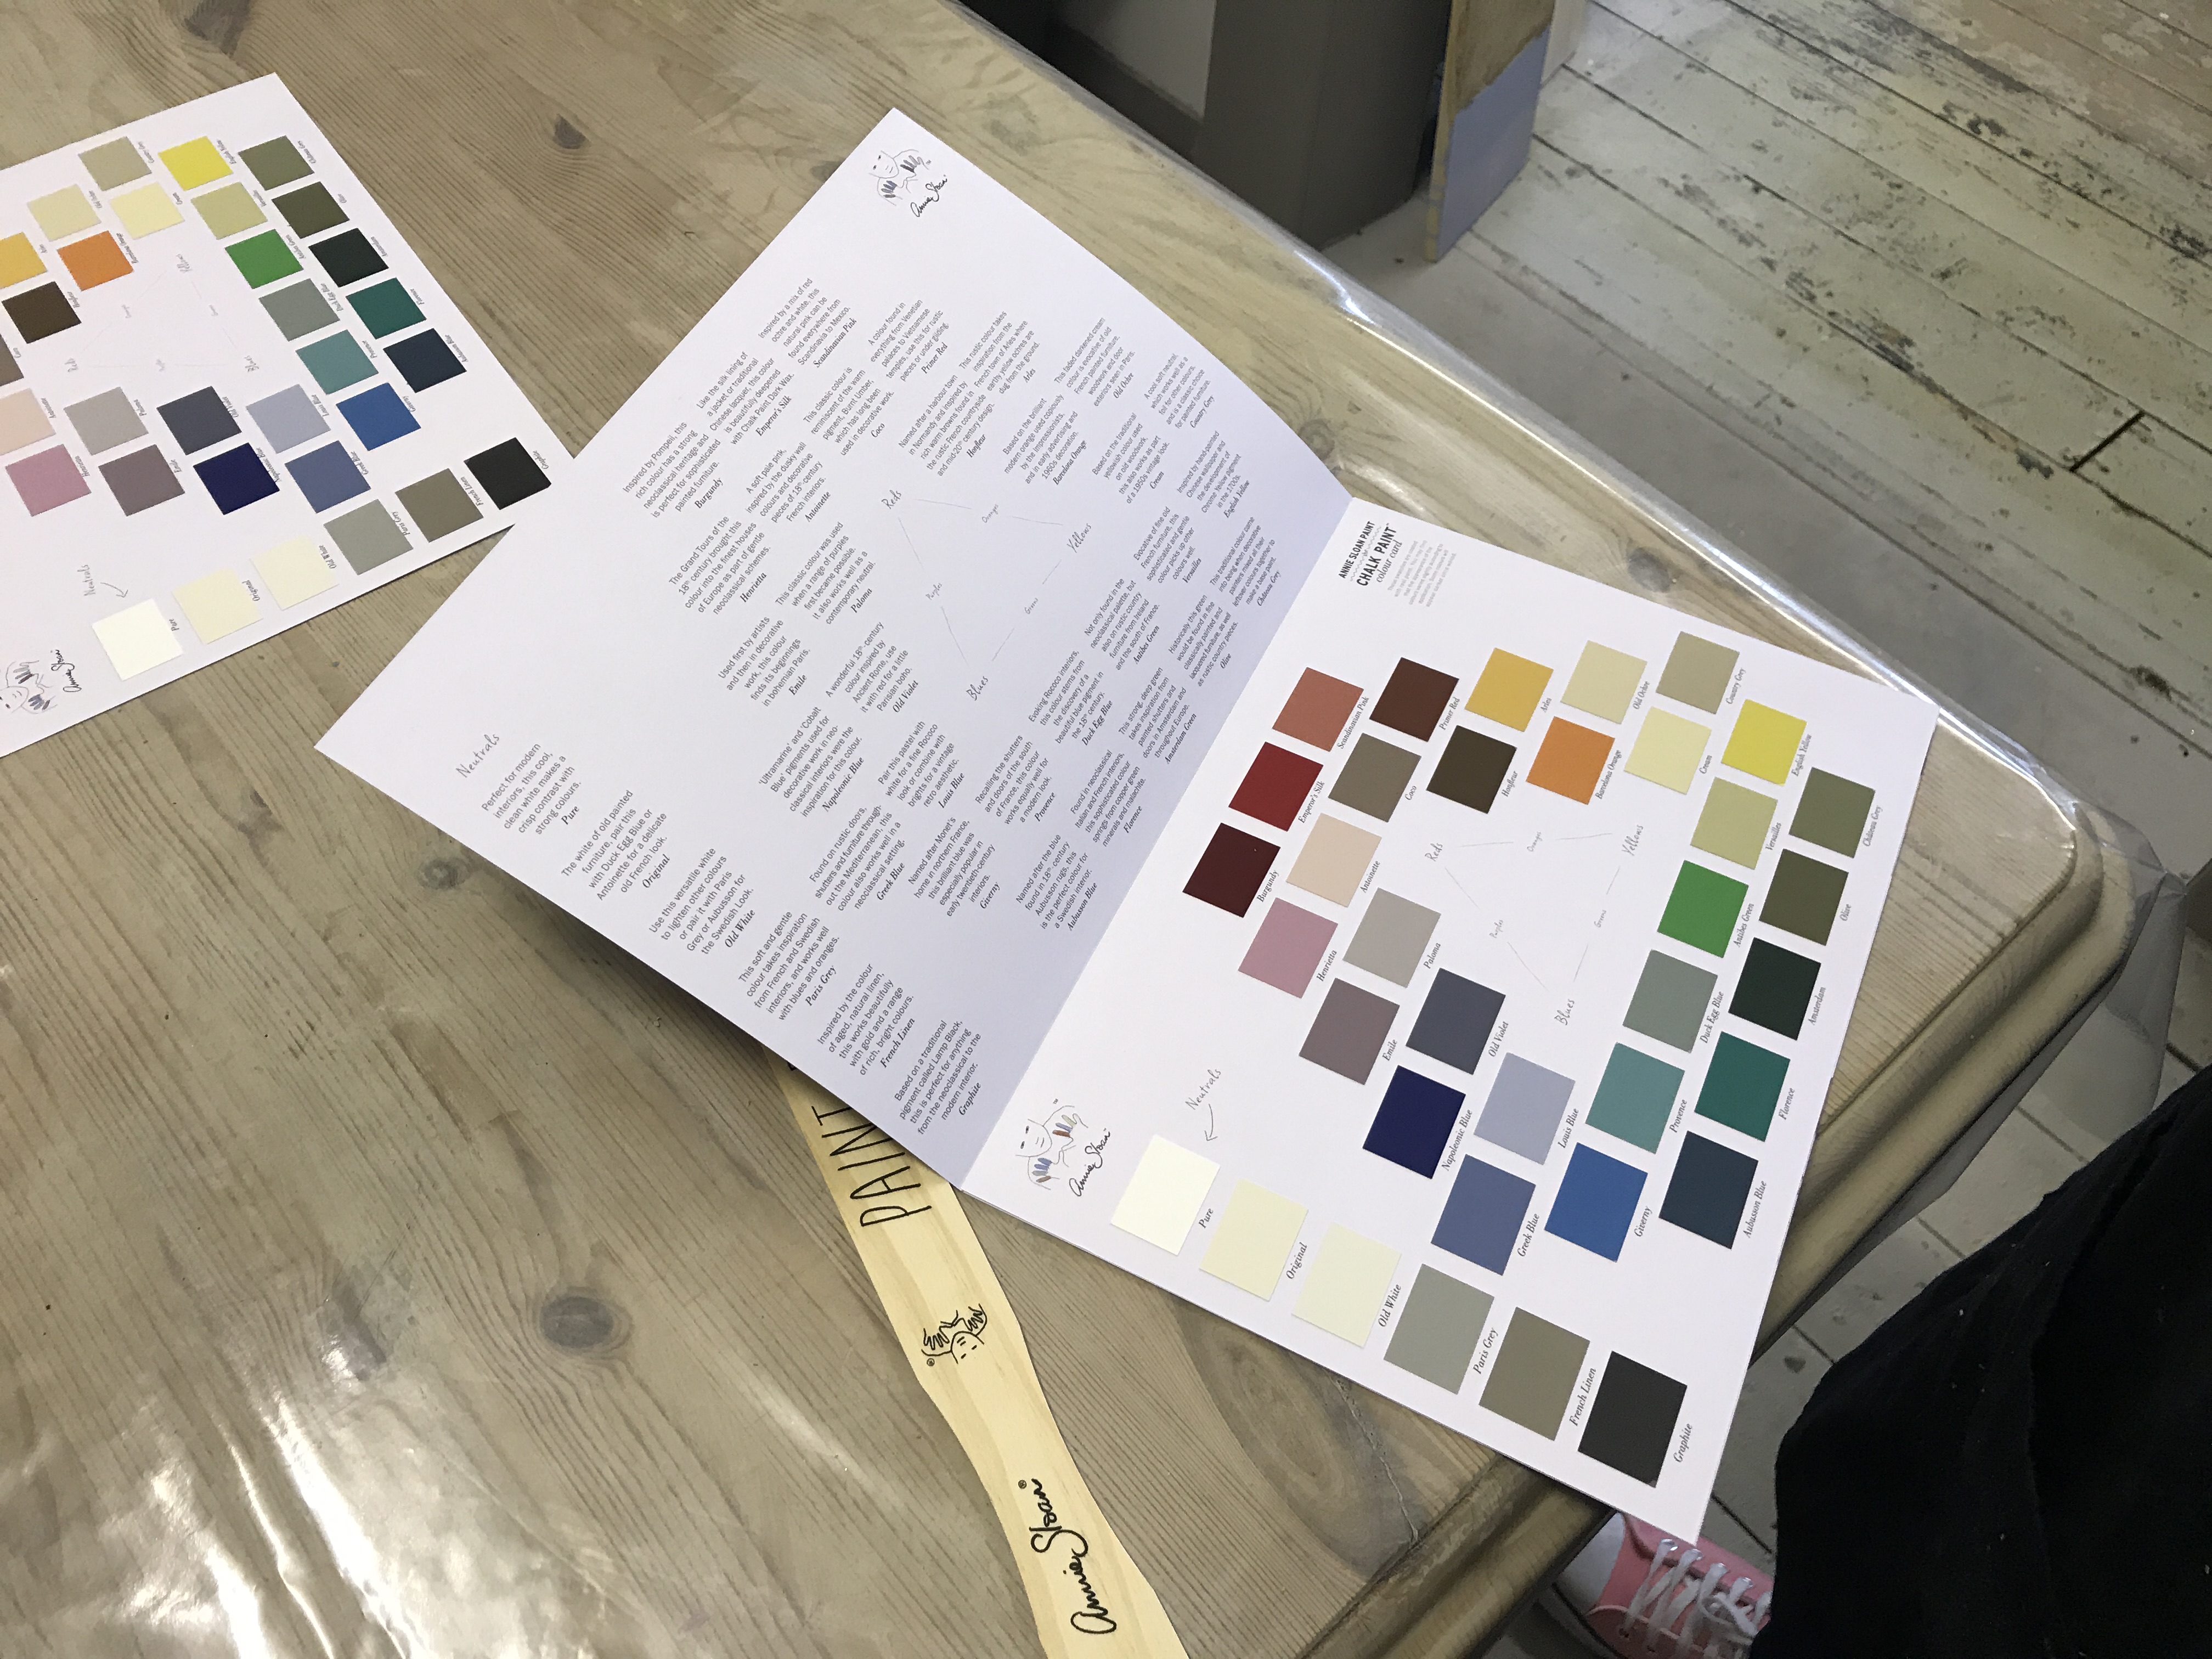
Phyllis hosts workshops for all ages and party types. They include everything from decoupage to making lamps and upcycling practically any type of furniture. For any of the products that need decorating with paint, she uses Annie Sloan chalk paints as it’s SUPER simple to use and can be used on so many types of materials.
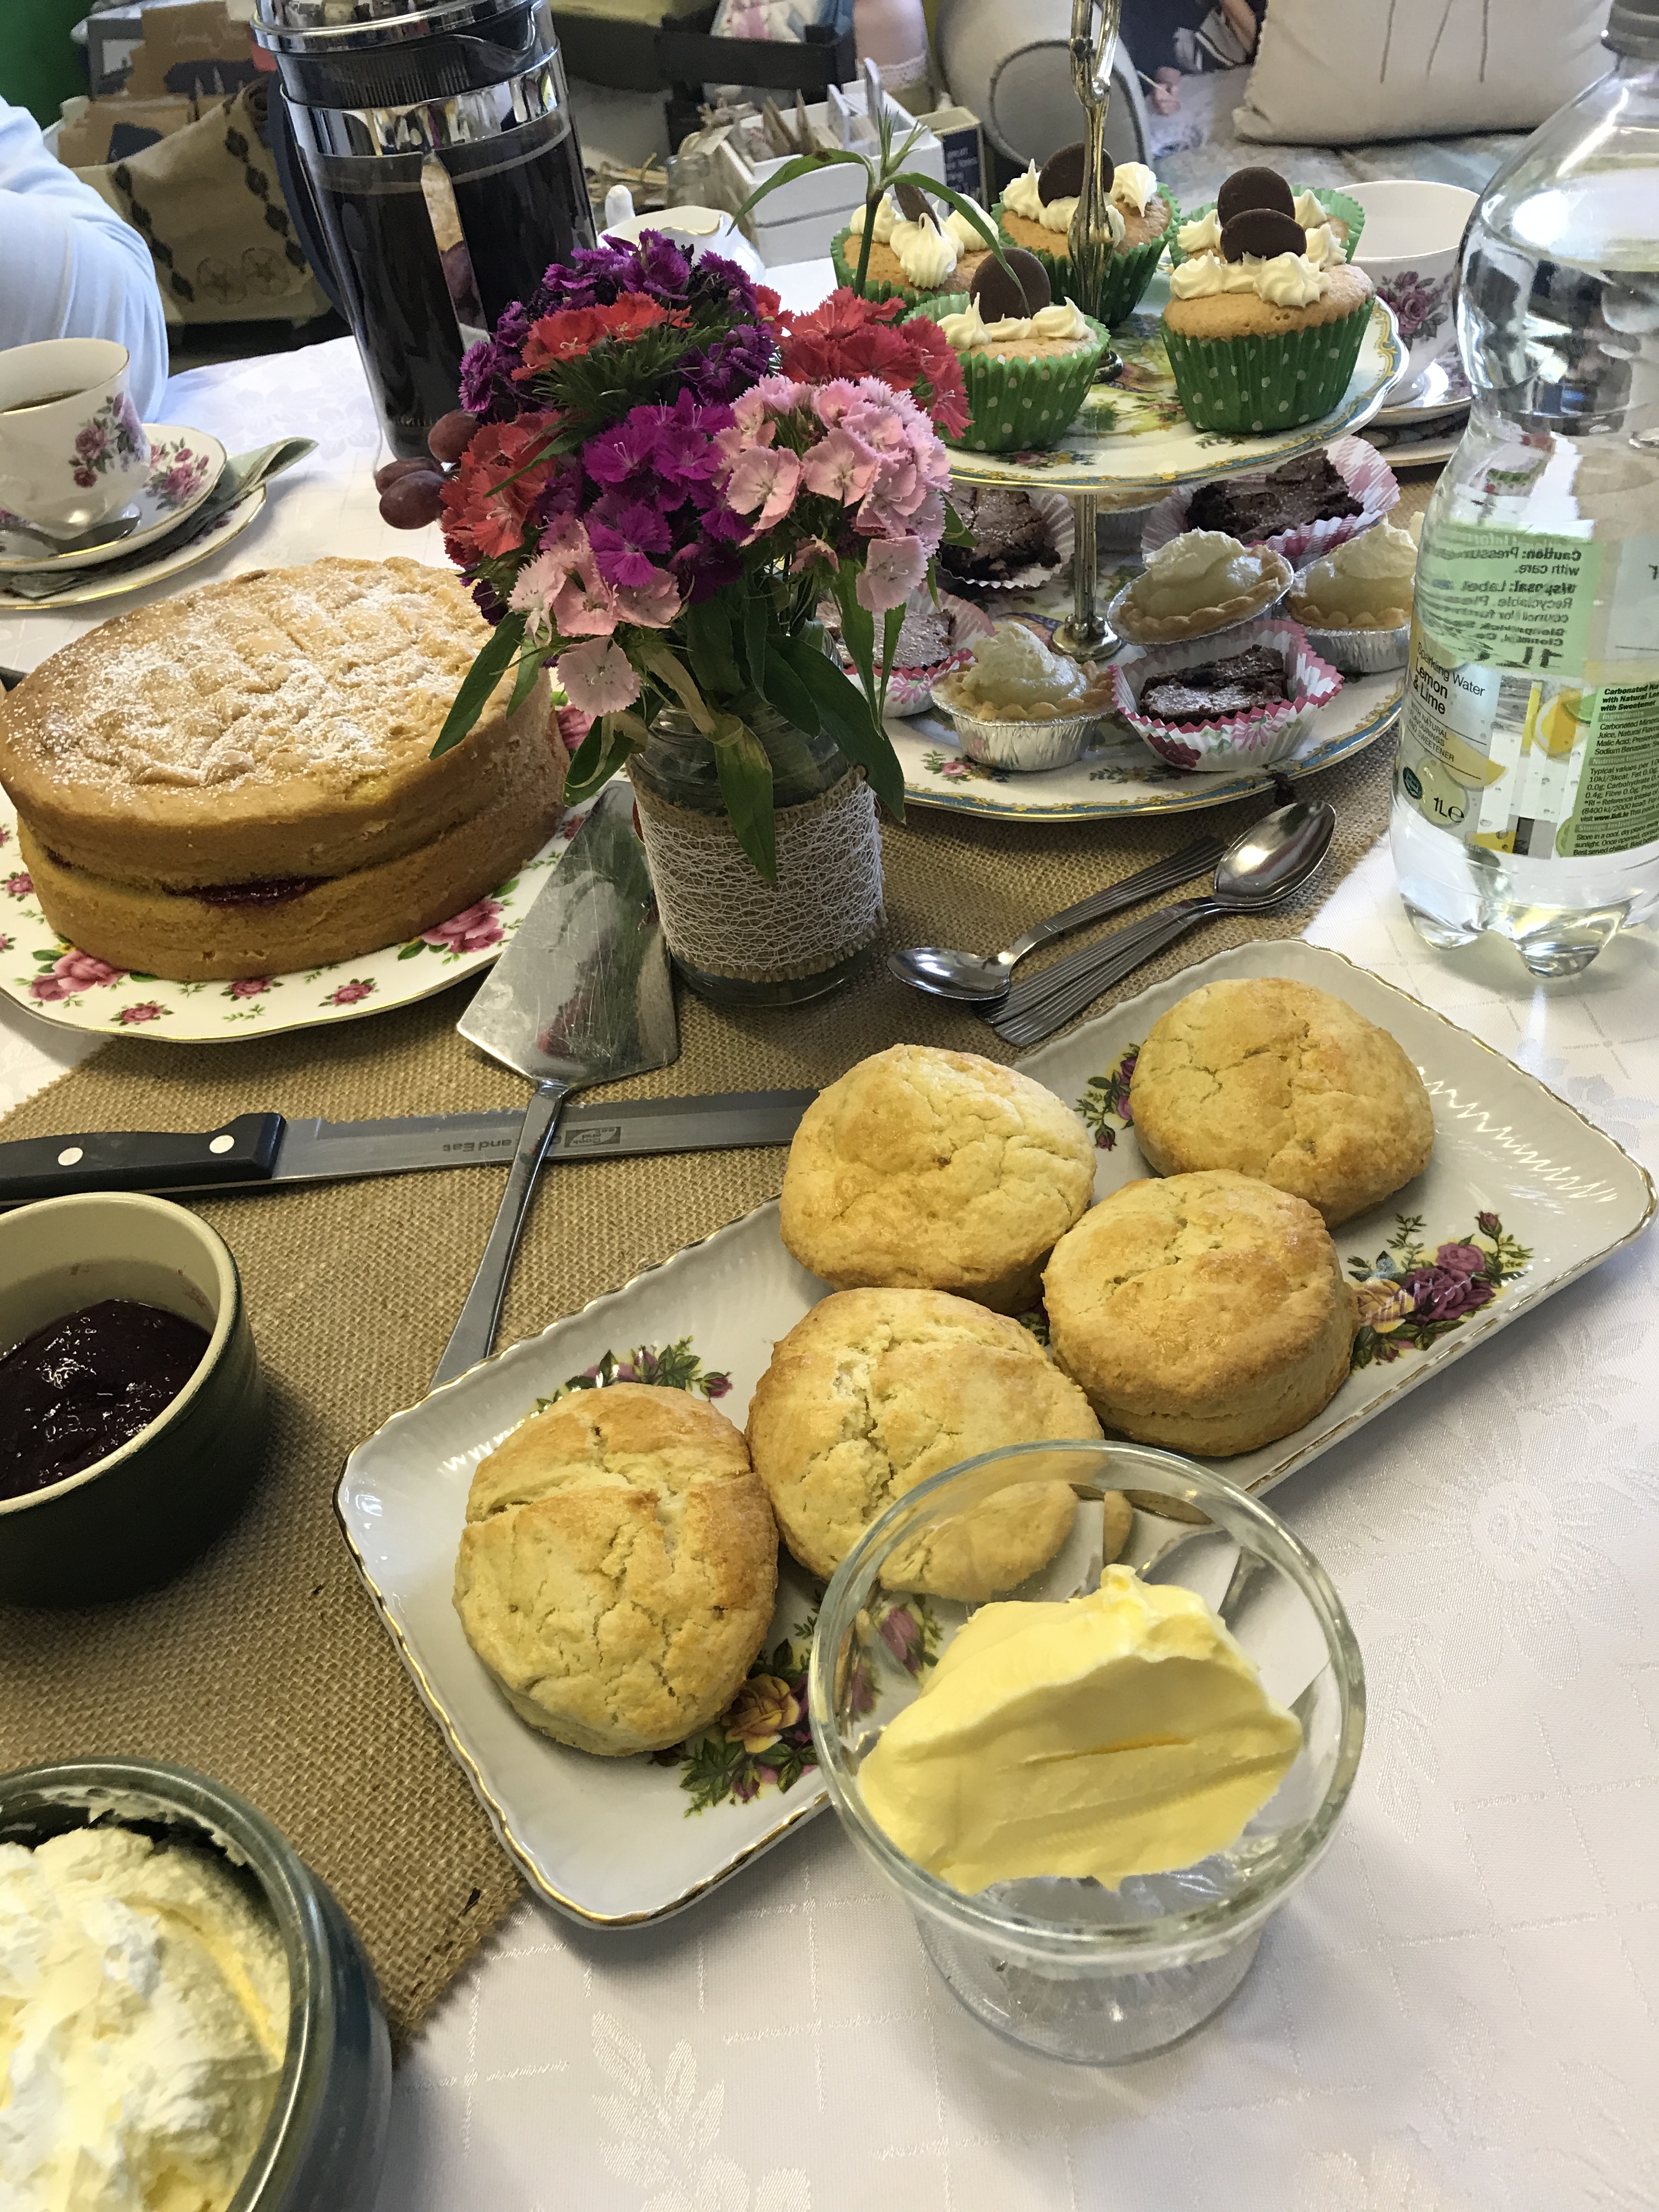
As I’d just moved out, I was looking to learn a new skill so that I could make/decorate my own pieces but also get some quality bits to make my flat look nice and classy. The afternoon tea was obviously a bonus!
What I loved the most about the workshop was how fun it was. Phyllis is so lovely but she’s a good teacher as well. None of us had extensive experience with upcycling but you would not believe how straight forward it is. I’ve become so obsessed, I get home, paint a little and watch some TV. It’s genuinely becoming serious.
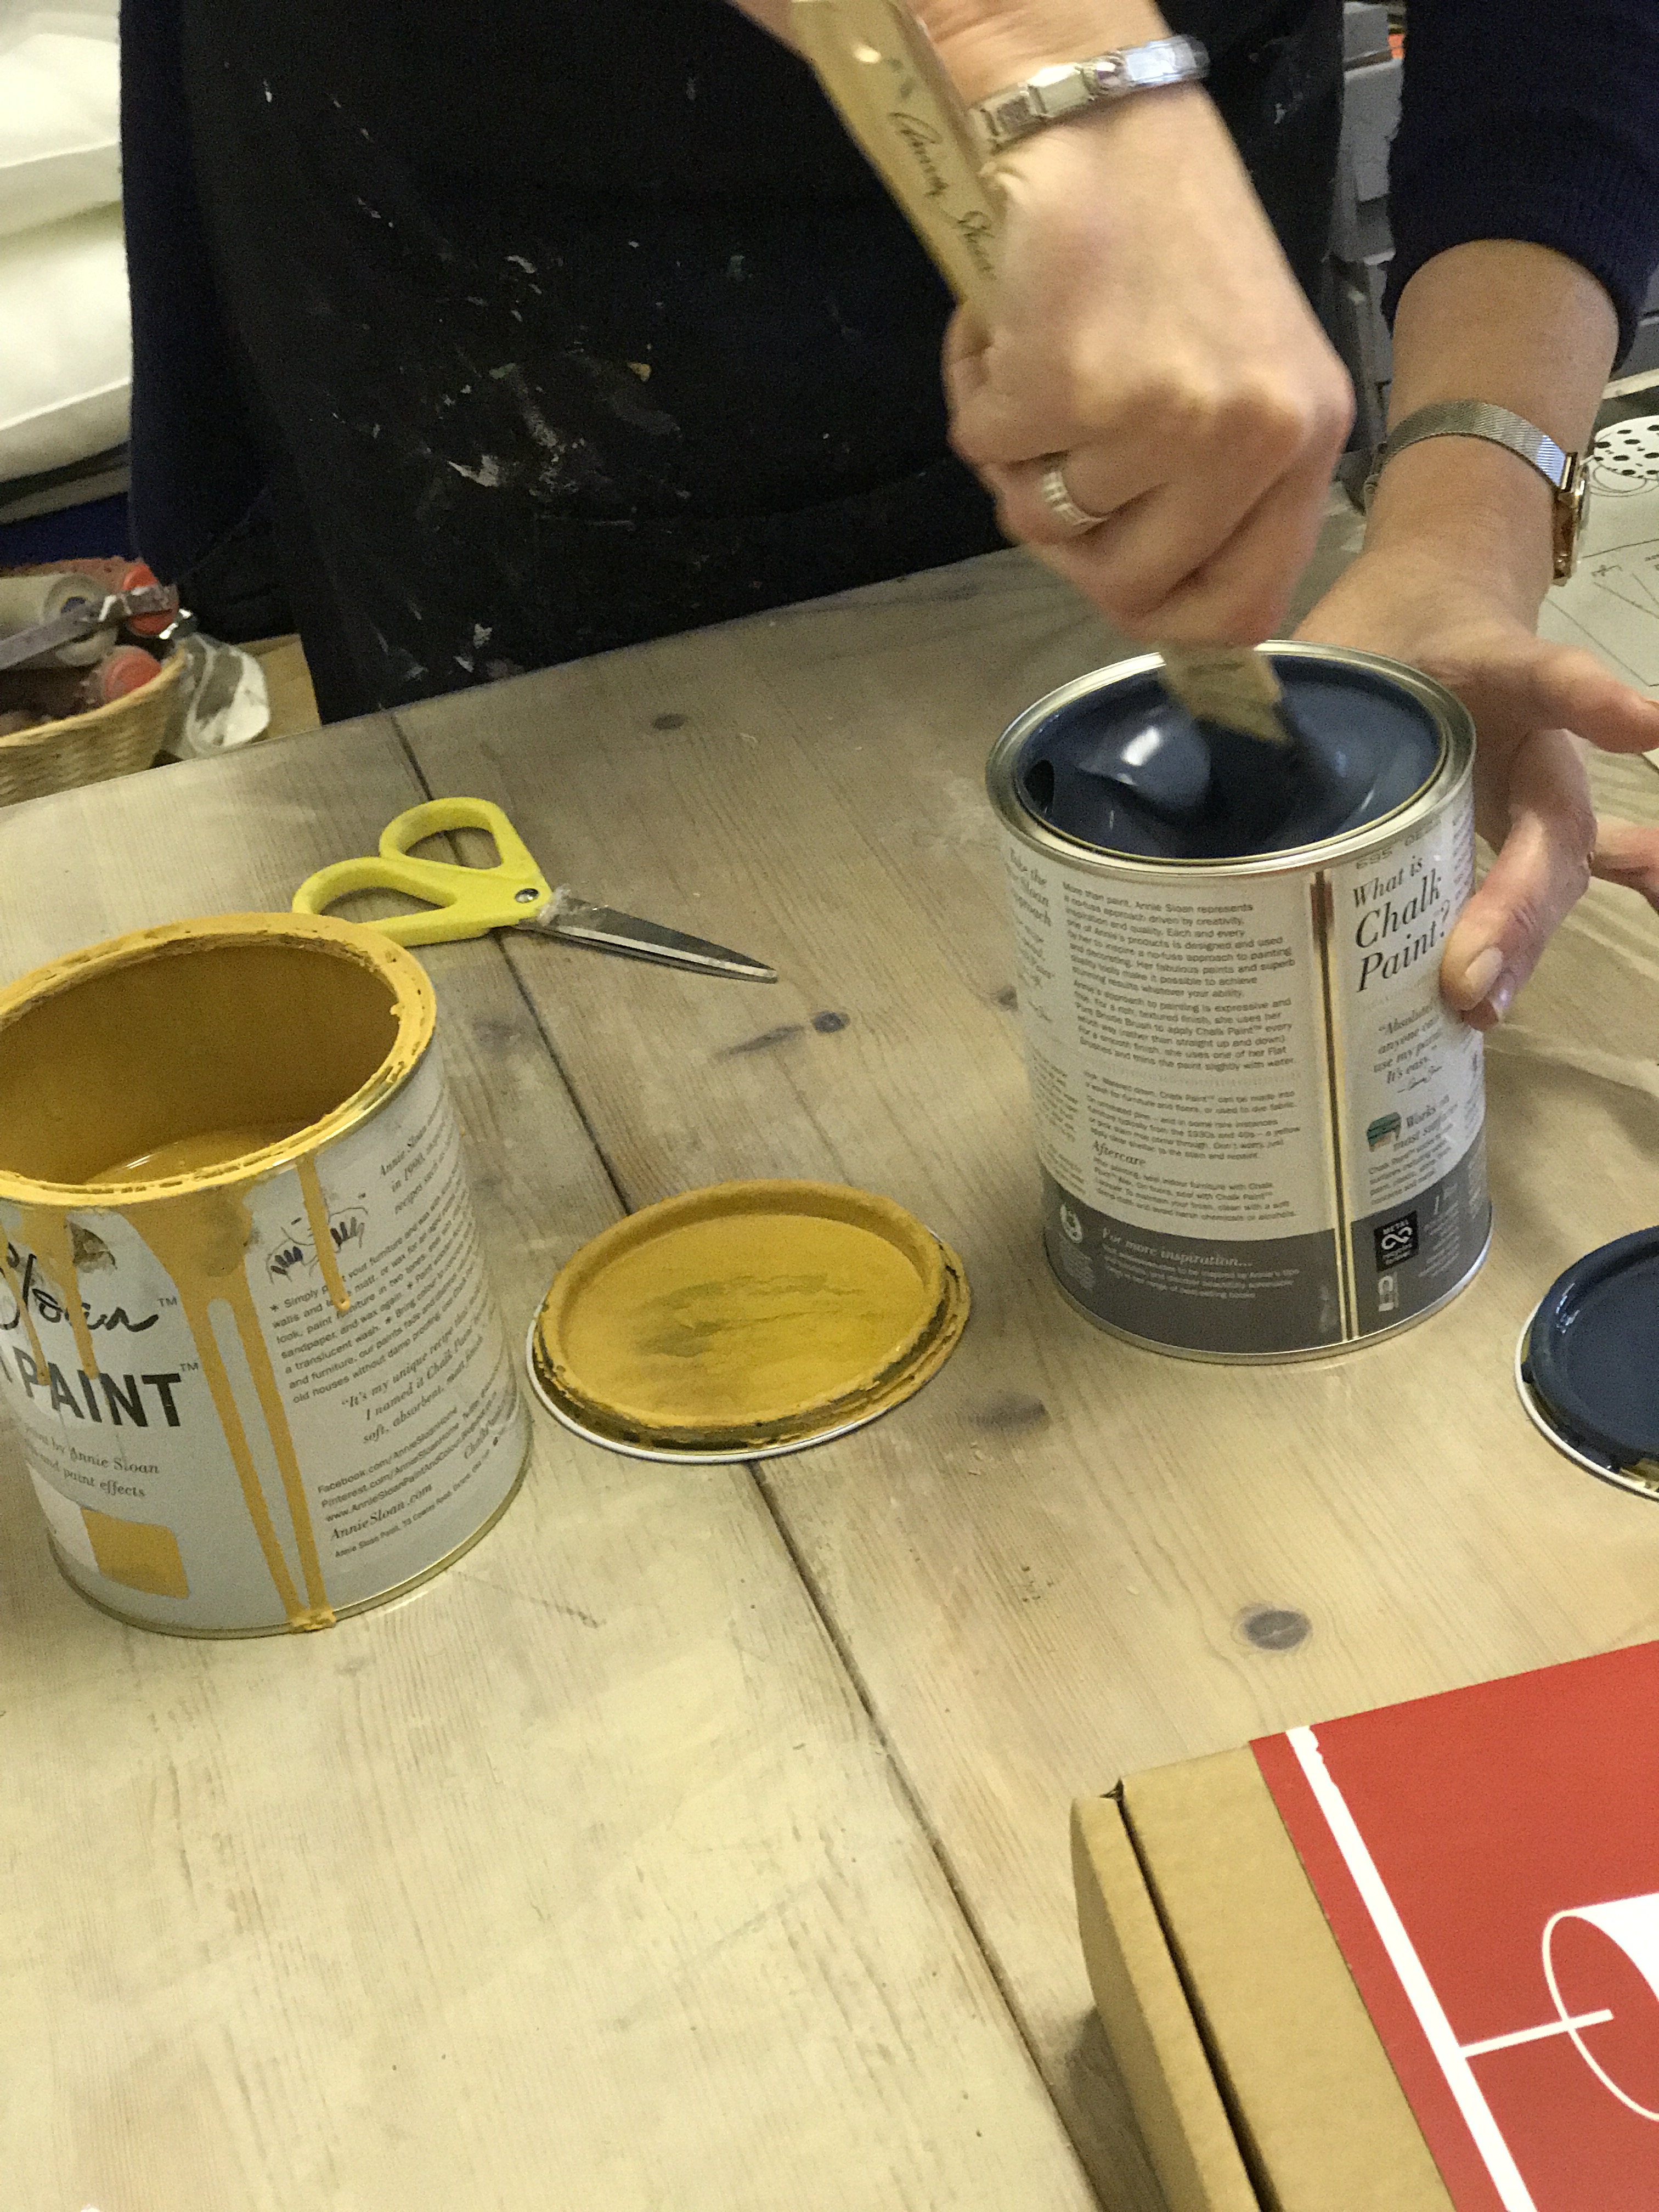
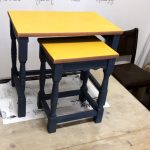
Me and Susan upcycled a couple of side tables, whilst Emer made her own lamp using a wine bottle, lamp making kit and Annie Sloan fabrics.
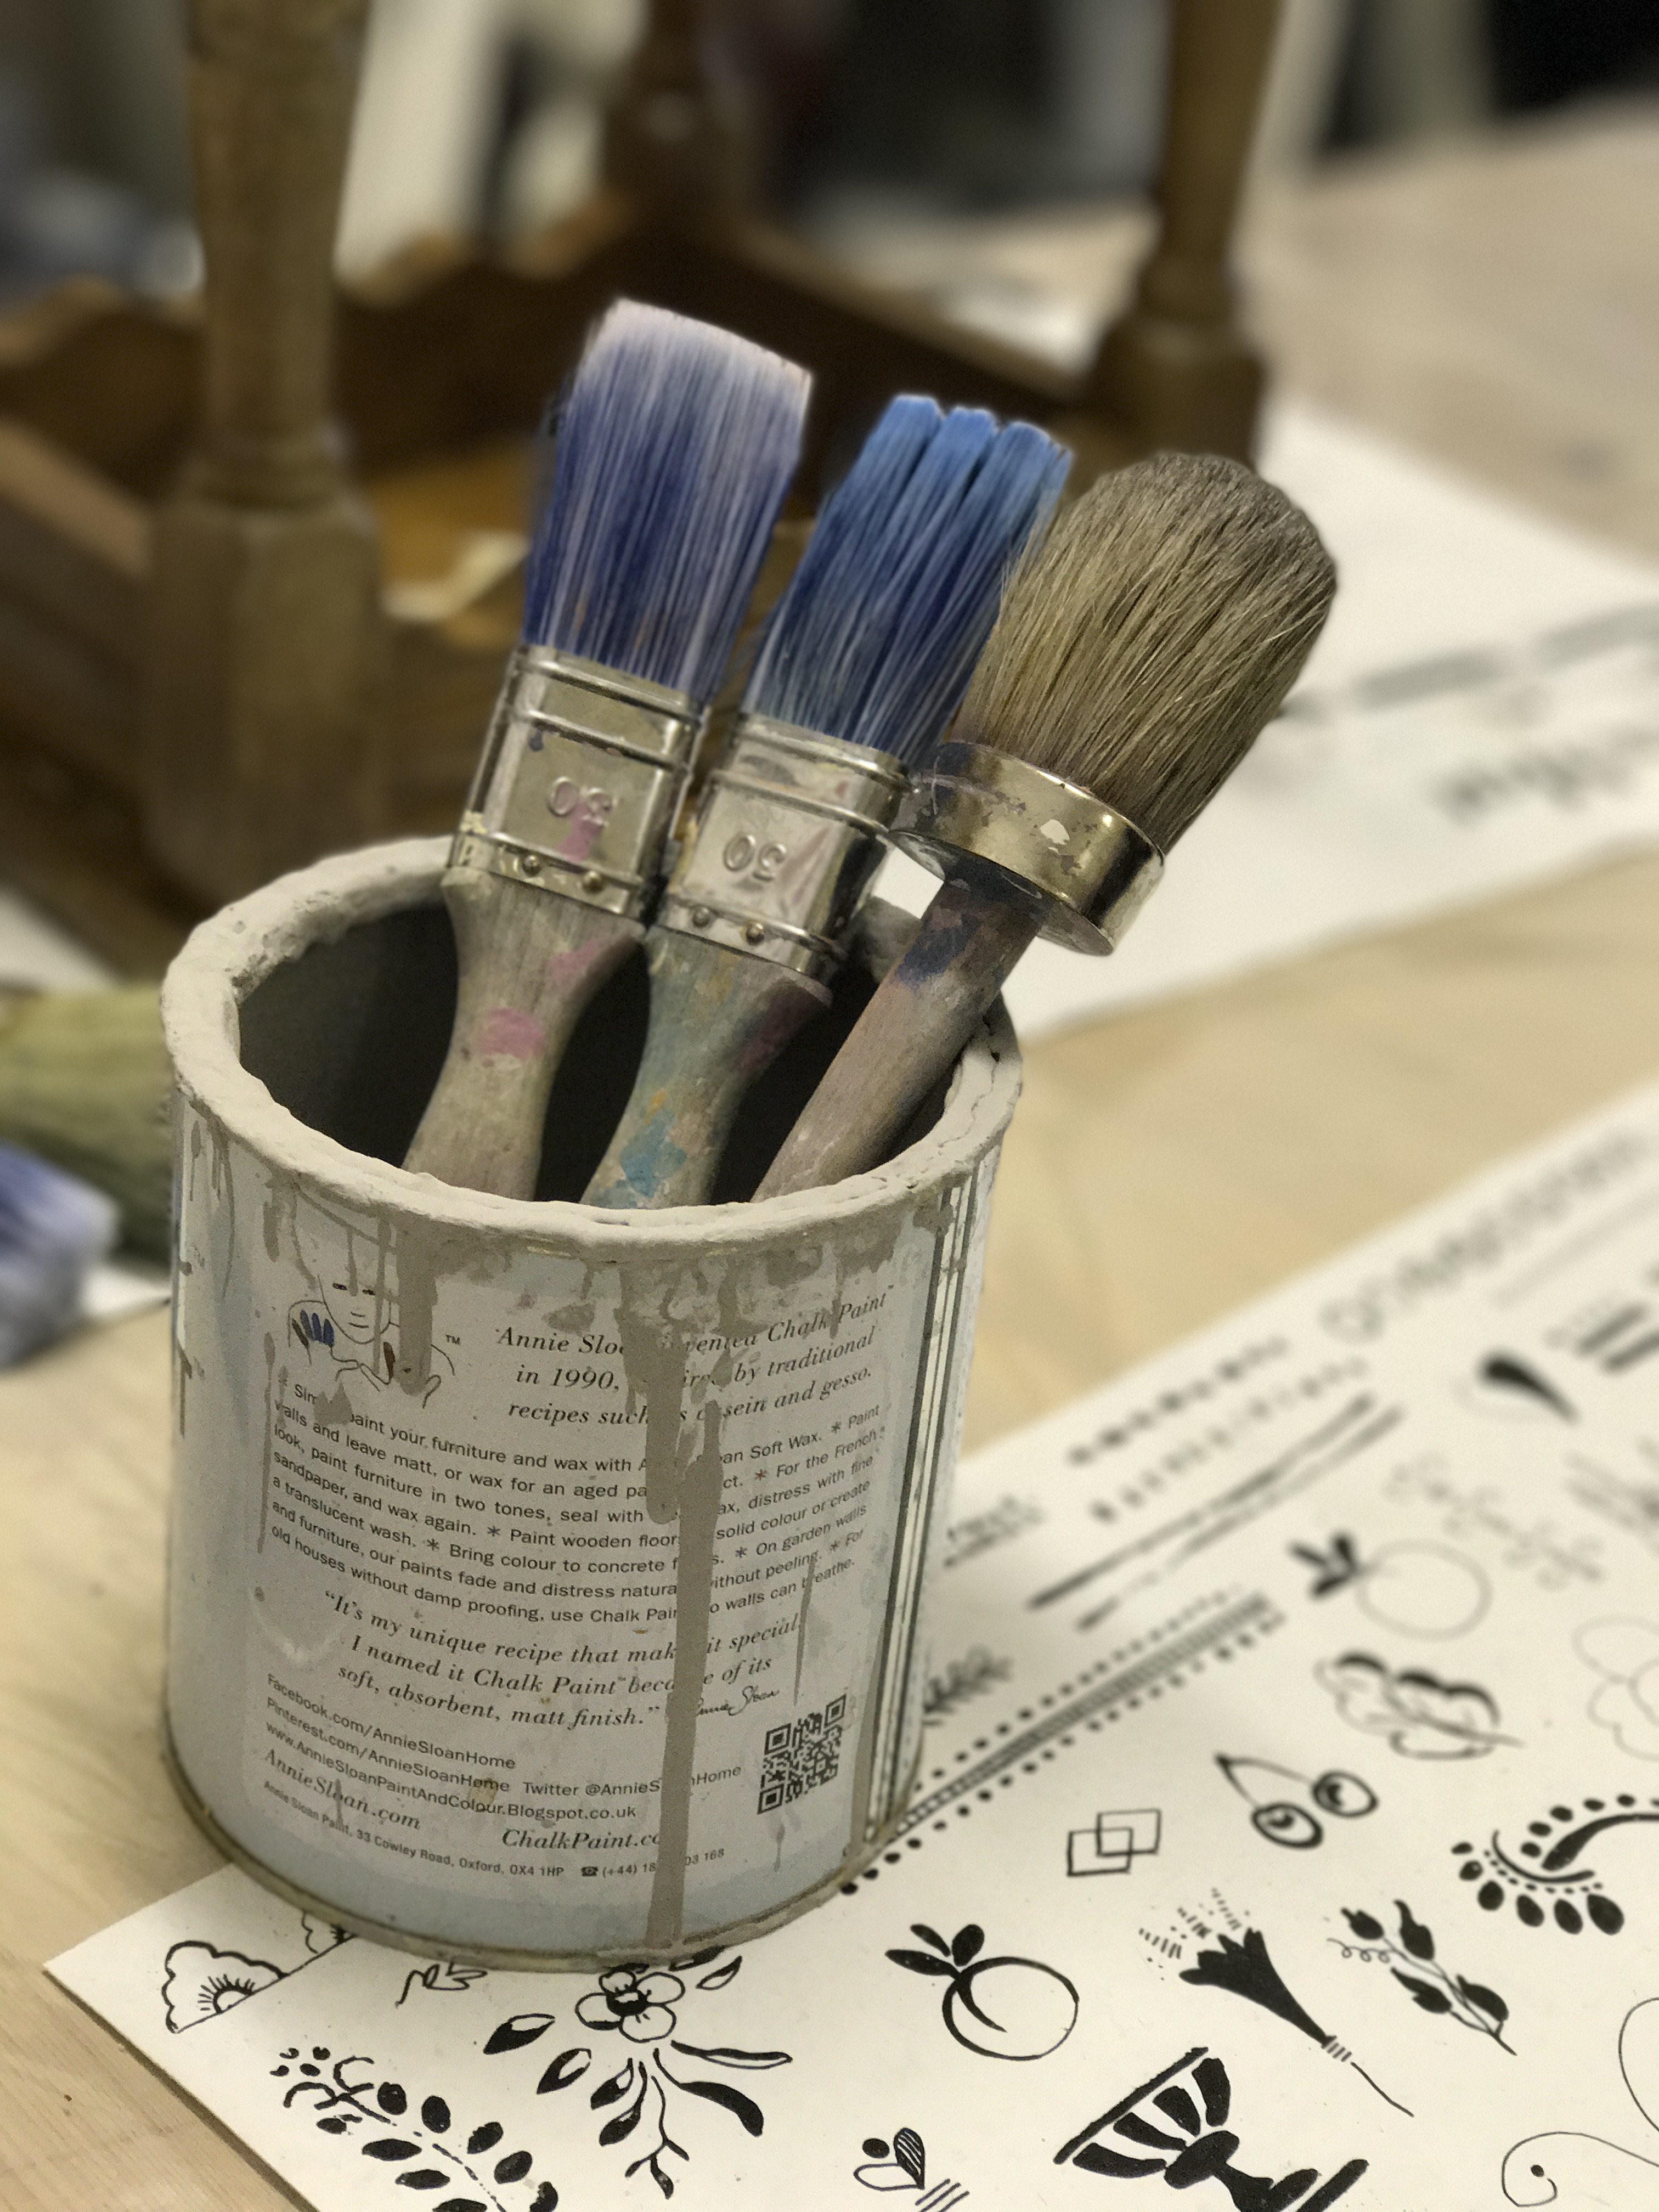
So how do you upcycle tables? It’s as simple as this…
Step 1 – Grab a table
Step 2 – Get your paint and paintbrush (I use the Annie Sloan Flat n.30 brush) then start painting
Step 3 – When the first layer is dry (try and let it dry naturally but if you’re short for time, use a hair dryer) add a bit of water to the paint to make it thinner than it was when you painted your first layer
Step 4 – Grab your Annie Sloan wax and a cloth. Go for something that doesn’t have bits e.g. an old ripped up smart shirt
Step 5 – Scrunch up the cloth into a ball, get a good bit of wax and rub it in (in circles) like its hand cream. Once the wax disappears into your furniture you know you’re done
Step 6 (optional) – Put a little of Annie Sloans gilding wax onto your fingers and rub it in around the edges of the table or into any cracks you may have in the table to make it look a bit more rustic
Step 7 – Leave the wax to set in for 24 hours before you use the tables
It’s as simple as that! For anyone that thinks you can go wrong, you can’t. No matter how bad you think you are, if I can come out with such masterpieces, so can you!
In the mean time, follow The Craft Loft on Instagram for more info and workshop ideas.
** This post is written in collaboration with The Craft Loft, however, all the opinions given are mine **
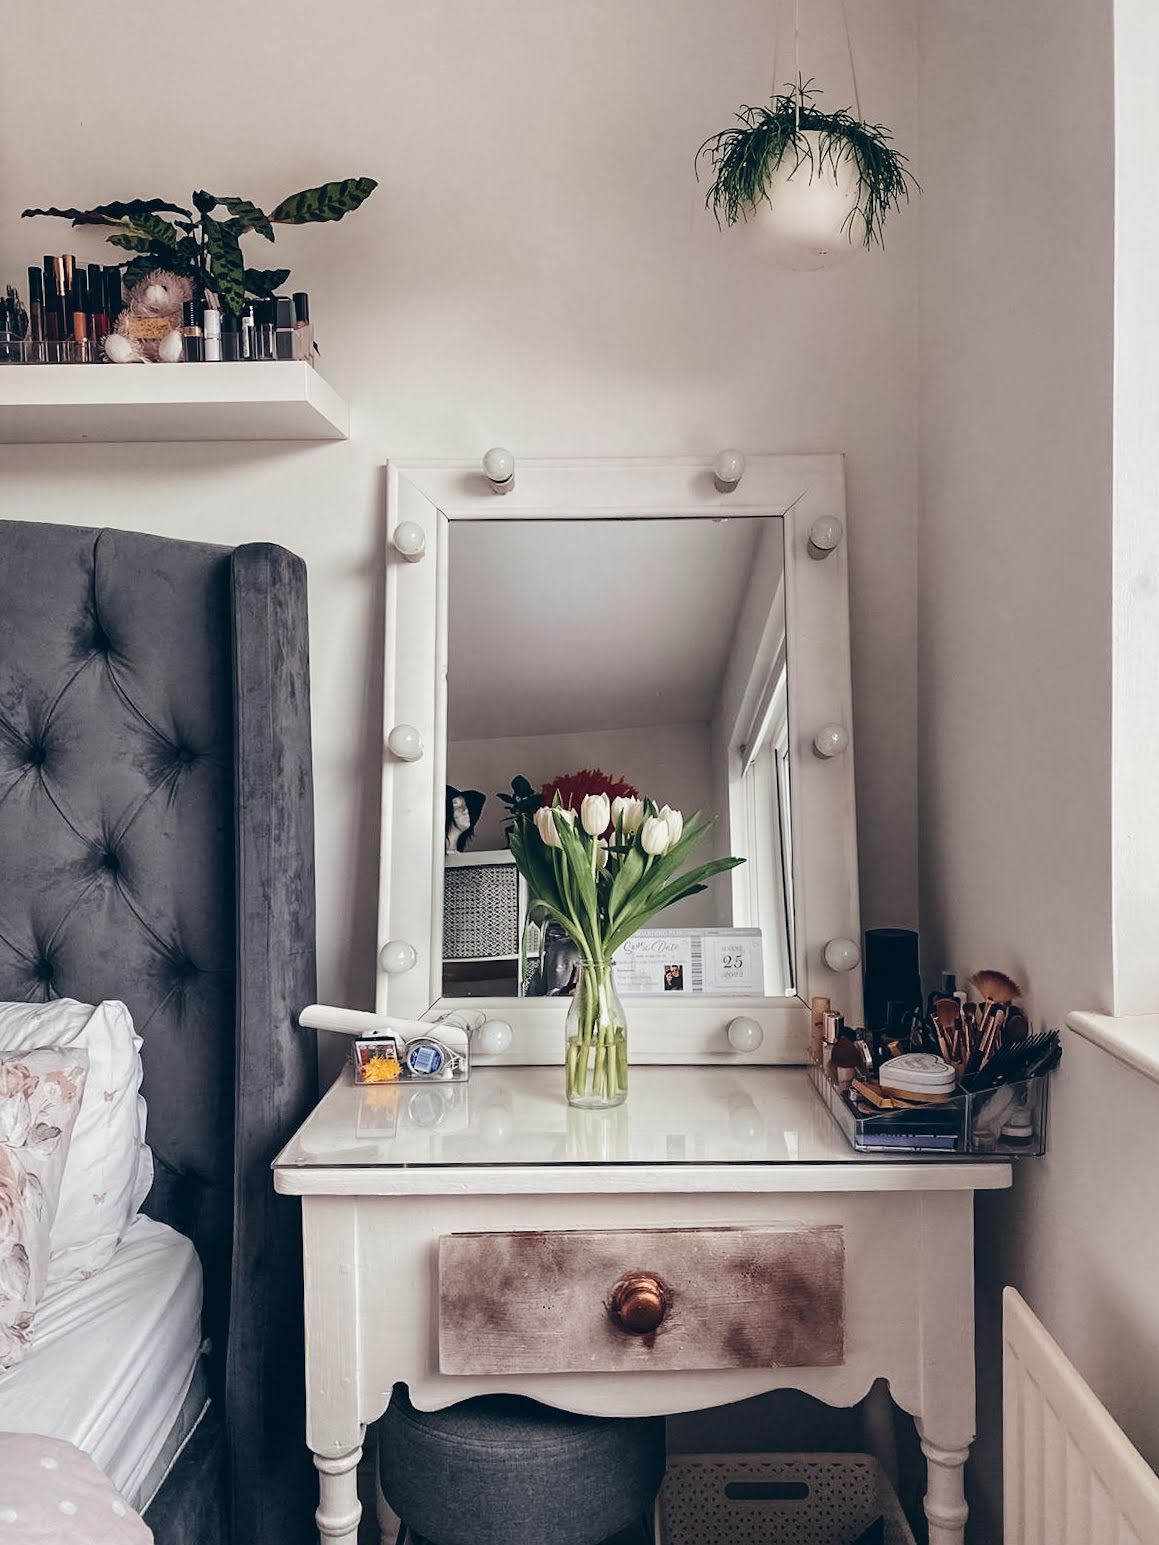
P.S. I used Arles and Abusson Blue for my tables with copper gilding wax.
